DIY Wooden World Map Art
This post may contain affiliate links. If you purchase through links on our site, we may earn a commission.
Decorate your walls with this beautiful DIY Wooden World Map for a fraction of store bought price.
Last week while perusing the web I came across an amazing Wooden World Map on Vivaterra (no longer available). I thought that it would be a gorgeous addition to my son Jack’s room-he is very much a little geography nut. The price tag however-a whopping $475-was not going to work. I knew I could make my own knock-off.

If you like this DIY tutorial you should also check out how to hang curtains with command hooks!
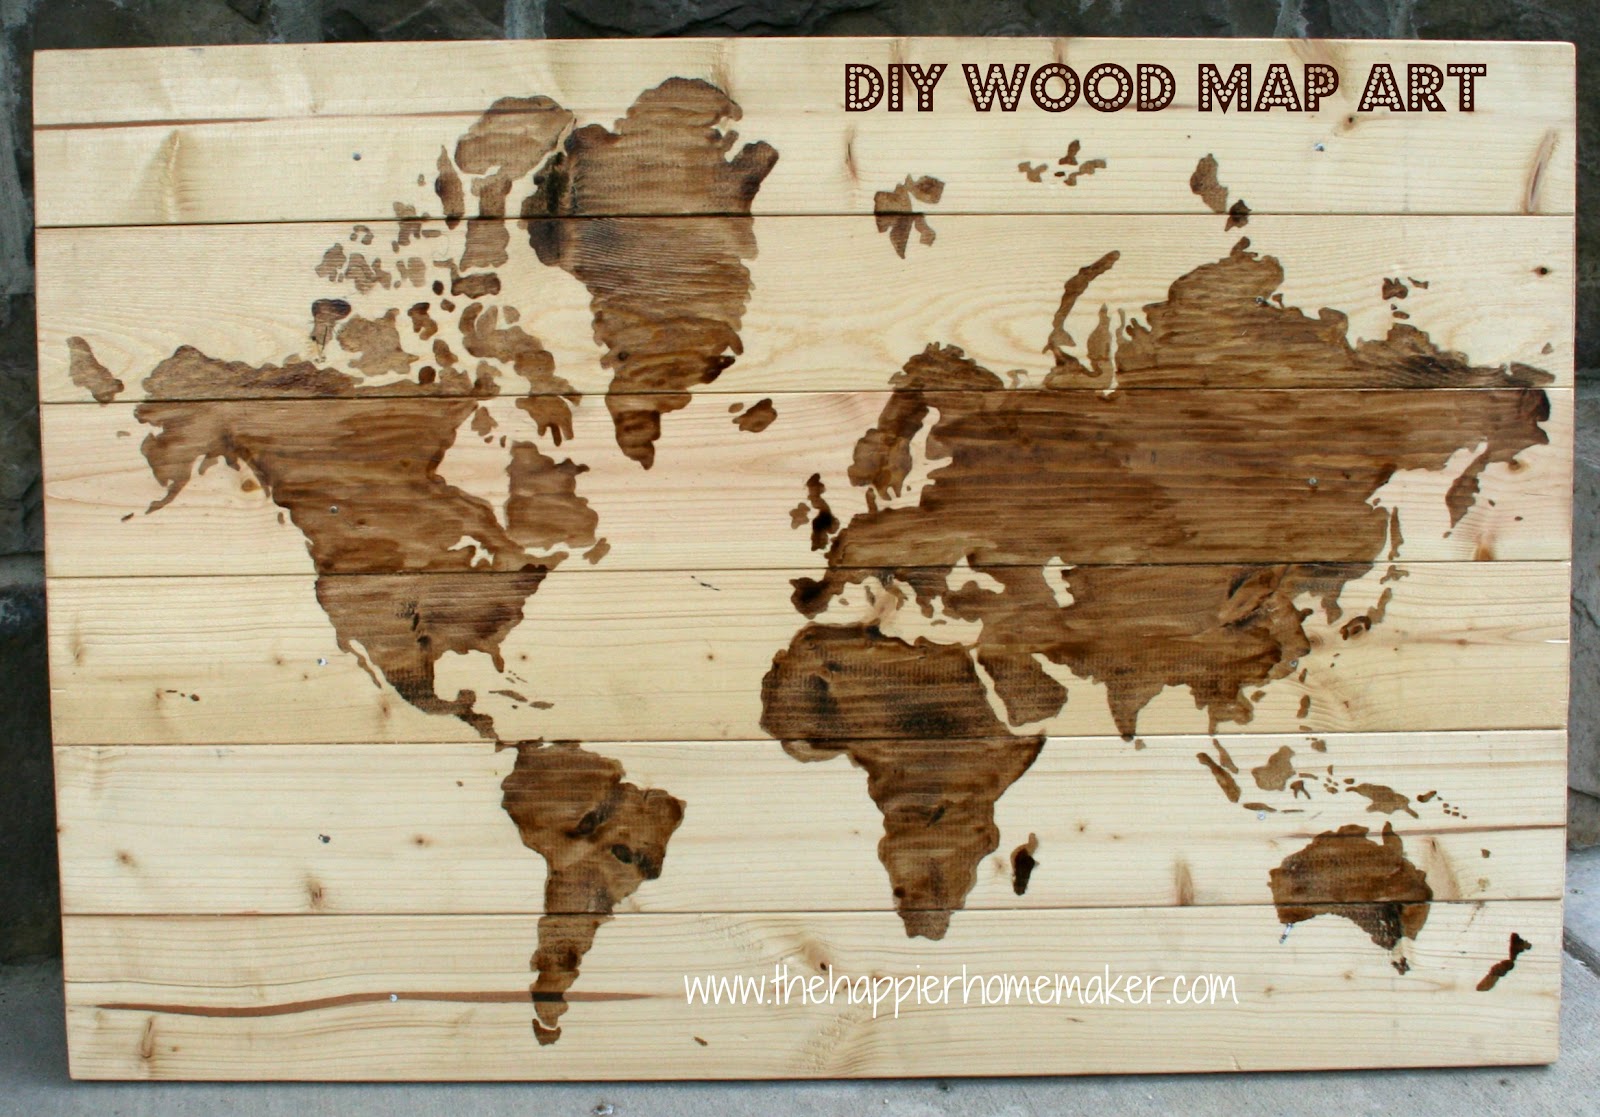
How to Make a Wood World Map
I started by creating a wood base with scraps left over from my DIY Headboard build a while back. I simply nailed the planks to the scrap wood on the back to stabilize them.
I then printed off a map template online and began the painstaking process of tracing it onto the wood-the easiest way to do this is using carbon paper between the printed map and the wood. The stain you use later will cover the traced lines.

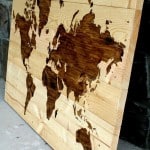
Below you can see the map traced onto the wood. After I traced the map I prepared the wood with a wood conditioner and sanded it with a fine grain sandpaper. (DO NOT SKIP THIS STEP-YOUR STAIN WILL BLEED IF YOU DO NOT CONDITION YOUR WOOD!!)

I then used the leftover Mission Oak stain from my headboard project and a small paintbrush to paint the map design onto the wood. Use very fine paint brushes to outline sections at a time then fill in with a wider brush. Updated to add: I used a variety pack of inexpensive brushes like this when I made these maps to sell years ago because the stain pretty much ruins the brushes.
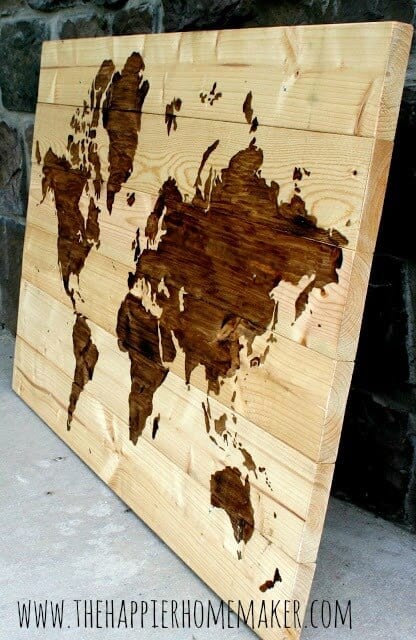
And here it is! I love it! I like that it has a rustic, distressed look to it. It was quite the process to make but I am just tickled at how it turned out-so much so that I decided to make them to order through my Etsy shop as well! (Update: I am not currently selling these maps.)

Now I need your opinion-I had originally planned to hang this on the wall in my son’s room but one of the other projects I started this weekend was making him a headboard-my husband had the idea of framing this out and making it into his headboard…what do you think? I think it could look pretty cool but I’m not 100% convinced yet. Your thoughts?
Thanks for stopping by! Be sure to follow me on Facebook and Pinterest so you don’t miss the fun!
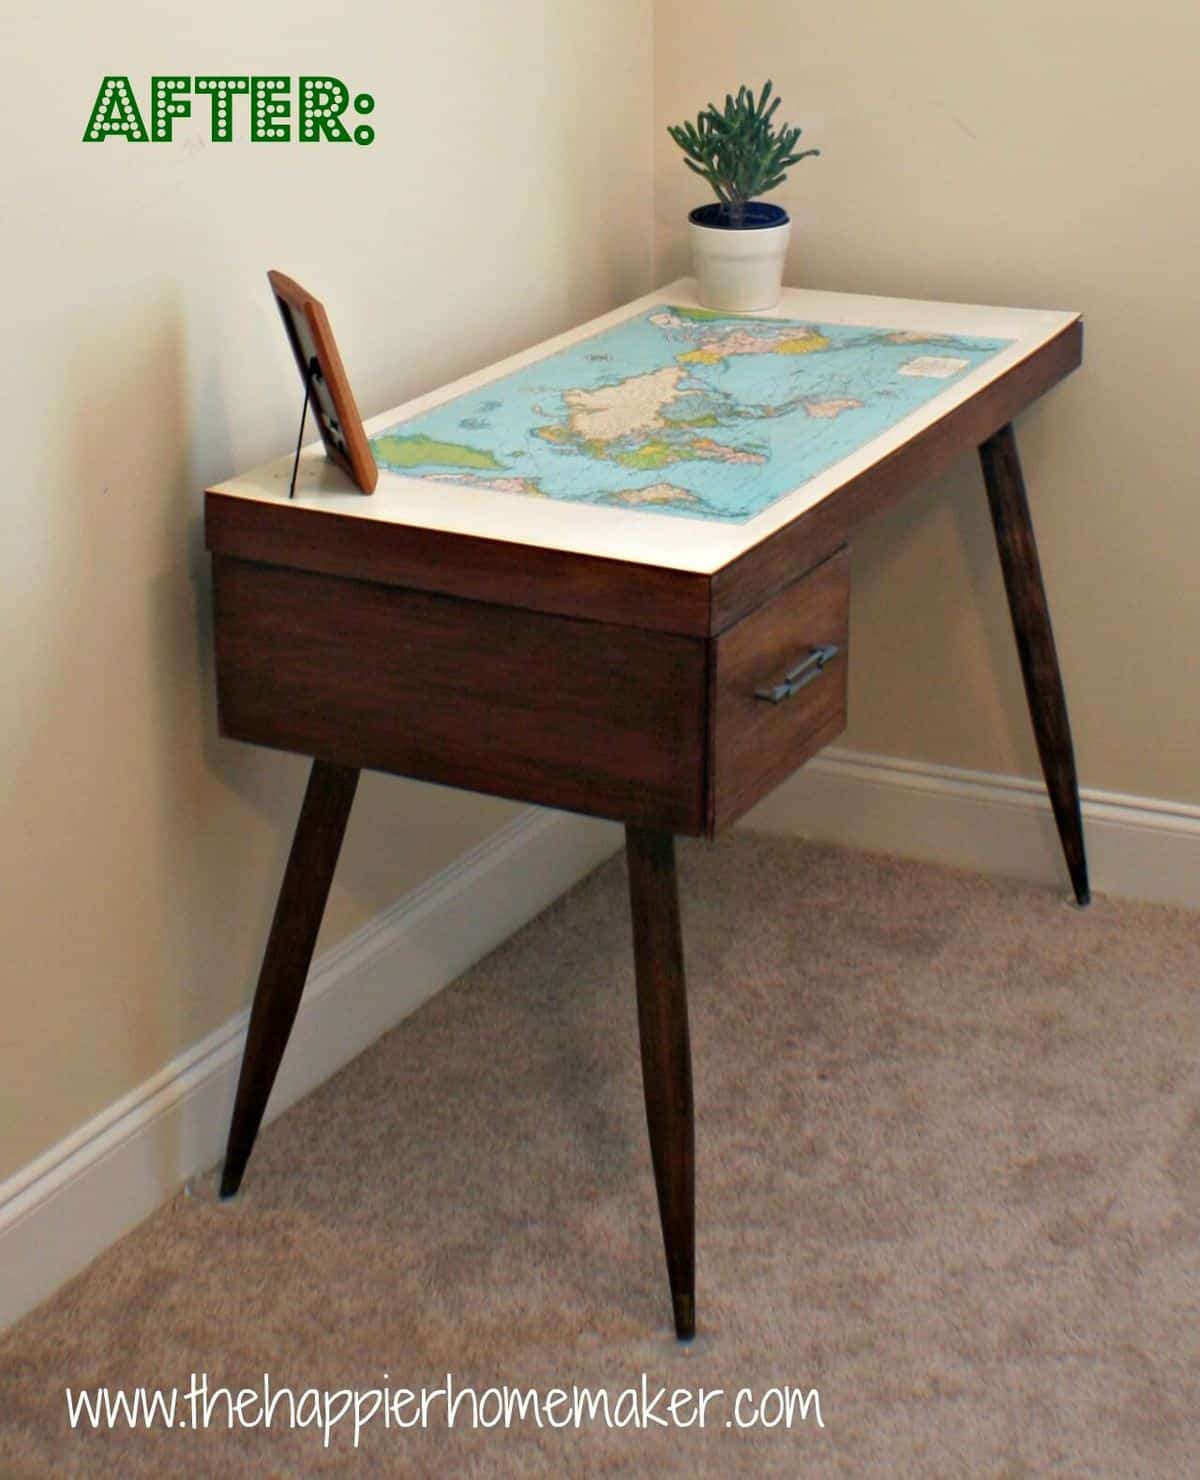
Other map projects:


Quick question….I understand that I need to use wood conditioner before the stain, but do I put the conditioner over all of the wood or just over the wood that I don’t want stained?
I LOVE THIS! My husband and I are travel nuts and so we are doing the guest room in a “travel the world” kind of theme with maps and pictures from all the places we have been and want to go! I think this would make an EXCELLENT addition! But I did have a question…did you sand and condition AFTER you traced the map onto the wood and did you ONLY do the areas you were going to be staining or the entire piece? Thank you so much!
How did you trace the template onto the wood???? Thanks!!
Hi Madeline! What I do is print off my template and tape the pieces of paper together. Then I turn the paper over and color over all the lines on the back to create my own version of carbon paper! Then turn it back over, tape in place on my wood panel and trace, I check periodically to make sure the design is transferring clearly. I considered buying carbon paper at one point but it was pricy in my area.This works well enough for me!
To make the tracing easier you could cut out the stencil of the map on vinyl using a Silhouette Cameo. After the vinyl is cut, just use transfer paper to move the stencil onto the wood and trace!
Hi Ben…
do you think you can print out the 9 page map on printable vinyl and do the same thing?
Thanks!
My only question is, does the sanding take off the tracing?
The sanding is so light that it doesn’t affect the tracing and to be quite honest you can skip it without affecting the final outcome. As long as you condition the wood you’ll be good-you absolutely can’t skip that step!
You should know that site called DIYhomedesignpins.com stole your pictures and is using it to generate clicks via Pinterest
Thank you SO much for letting my know, I’ve contacted them to ask it is removed. There were a lot of blogging friend’s projects on there too, I’ve let some know as well. Again-thank you so much!
How did you keep the stain from bleeding into the wood. I tried this and traced the map, but when I started to stain it, the stain bled past my tracing
Hi Amanda, It’s very importance to use Wood Conditioner on the wood prior to staining. I’ve had numerous people contact me about their stain bleeding and all of them forgot that step. Did you condition your wood? I’m going to go back in the post to make sure that step is highlighted.
This is absolutely gorgeous! The two tone wood is perfect, I could definitely see this in my home! Love it. Great job and lovely tutorial. Featured you on my FB page and Pinned 🙂
Wow, thanks so much Taryn! I love your blog & projects so it’s extra-special coming from you! Happy New Year!
Oh My Goodness!!!!! How amazingly cool! I am SO inspired! I would have never thought to use stain on plain wood like this to get such a great look! Thank you SO much for sharing! And to say I am tempted to order one of these on your esty shop is an understatement! Thank you SO much for sharing at Happy Hour! I am pinning your project to our Happy Hour Feature board right now!
Jaime
Thanks so much Jamie!! You’re too sweet! They do take a good bit of patience but the finished product is worth it-I’m working on one right now actually!
Sorry I misspelled your name-answering from my iPhone!
I absolutely LOVE this! I may try to do something similar but honestly don’t know if I’d have the patience! It came out beautiful though!! Happy New Year! XO
Thanks Christine! It does take patience but you could do it for sure! I’m working on my second one of the week!
For anyone looking for tips on tracing… I read this on another blog but newspaper also works as tracing paper. I found an ad in the newspaper that was almost entirely black. Put it dark side down on the wood then trace on top of it. It will leave an outline for you. I did it piece by piece of the 9 page map to keep track better of what I had traced. It only took me an hour to trace the entire map.
Great tip Kristen! I’ll have to try that on my next one, I’ve been using a pencil to color the back of the lines on my printout then tracing to get the same effect but newspaper would be so much faster! Thanks for sharing!
looks great! How did you trace it onto the wood??
Thanks Georgia! I take the map printout and rub pencil on the back, then turn it and trace so the pencil rubbings transfer to the wood. Let me know if you have any more questions!
hi
do you have a picture of the final framed product?
Hi! this is really cool! is there any way you can link the prints of the world so i can just print those?
This is awesome…and really inspiring! An alternative to printing the map and tracing it would be to project the image onto the boards and trace it that way (using a laptop and LCD projector) I’ve personally tried this method with other projects, and it certainly saves a lot of time. Love this!
Would it have been easier to use carbon paper for the tracing? I would like to see you experiment with making each country a different shade of stain. I know that when staining concrete they cut the concrete outside of the design. Perhaps tracing the edges with an Exacto knife would prevent different stains from running into each other. Perhaps that would give it an inlaid wood appearance. This would make a great coffee table too. Also a link to the map you used would be great.
When I first saw this, I immediately thought it could be my son’s headboard. He loves maps… I don’t know if I would make it, may just visit your etsy shop…
This is AWESOME! I hadn’t thought of “painting” with stain. Thanks for sharing!!
Sorry but you REALLY messed up the whole east coast of Canada!!!!
How did you make such a clear cut line? I would think the stain would bleed with the grain of the wood.