DIY Wooden World Map Art
This post may contain affiliate links. If you purchase through links on our site, we may earn a commission.
Decorate your walls with this beautiful DIY Wooden World Map for a fraction of store bought price.
Last week while perusing the web I came across an amazing Wooden World Map on Vivaterra (no longer available). I thought that it would be a gorgeous addition to my son Jack’s room-he is very much a little geography nut. The price tag however-a whopping $475-was not going to work. I knew I could make my own knock-off.

If you like this DIY tutorial you should also check out how to hang curtains with command hooks!
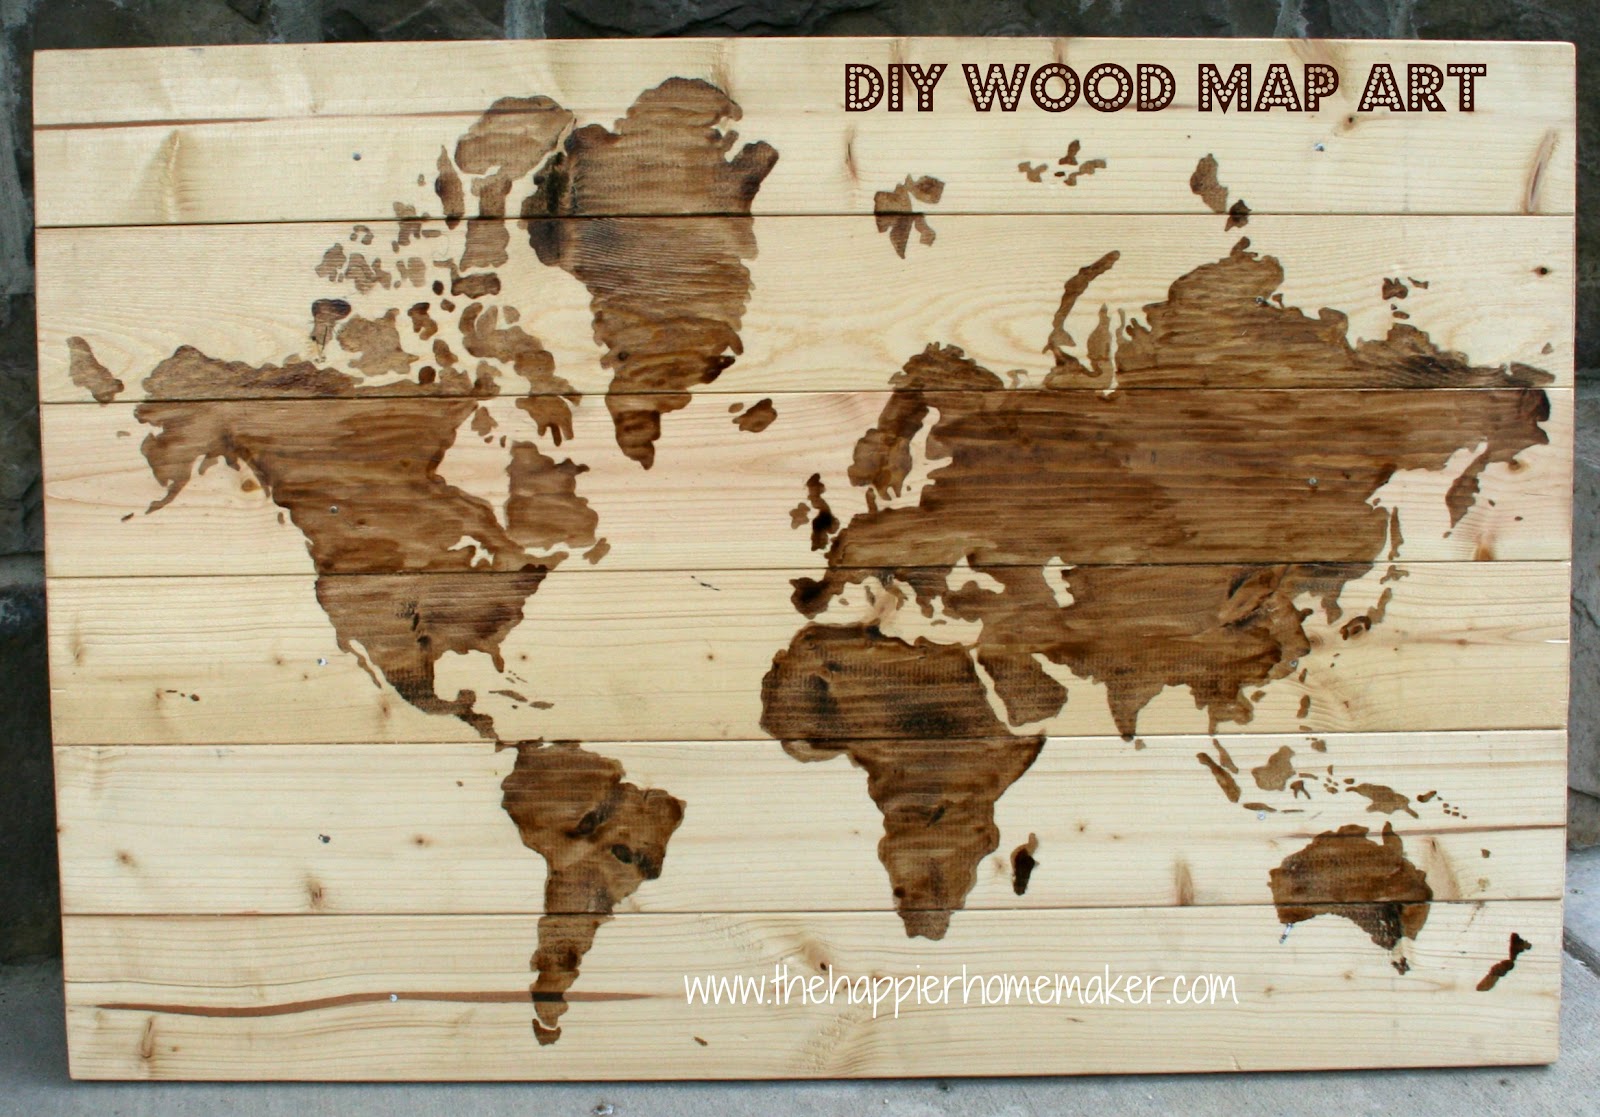
How to Make a Wood World Map
I started by creating a wood base with scraps left over from my DIY Headboard build a while back. I simply nailed the planks to the scrap wood on the back to stabilize them.
I then printed off a map template online and began the painstaking process of tracing it onto the wood-the easiest way to do this is using carbon paper between the printed map and the wood. The stain you use later will cover the traced lines.

Below you can see the map traced onto the wood. After I traced the map I prepared the wood with a wood conditioner and sanded it with a fine grain sandpaper. (DO NOT SKIP THIS STEP-YOUR STAIN WILL BLEED IF YOU DO NOT CONDITION YOUR WOOD!!)

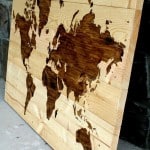
I then used the leftover Mission Oak stain from my headboard project and a small paintbrush to paint the map design onto the wood. Use very fine paint brushes to outline sections at a time then fill in with a wider brush. Updated to add: I used a variety pack of inexpensive brushes like this when I made these maps to sell years ago because the stain pretty much ruins the brushes.
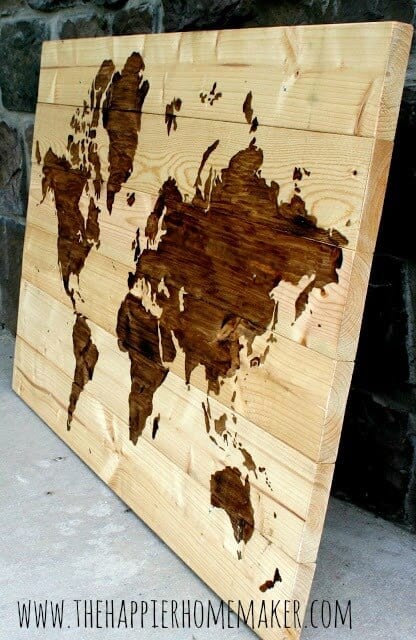
And here it is! I love it! I like that it has a rustic, distressed look to it. It was quite the process to make but I am just tickled at how it turned out-so much so that I decided to make them to order through my Etsy shop as well! (Update: I am not currently selling these maps.)

Now I need your opinion-I had originally planned to hang this on the wall in my son’s room but one of the other projects I started this weekend was making him a headboard-my husband had the idea of framing this out and making it into his headboard…what do you think? I think it could look pretty cool but I’m not 100% convinced yet. Your thoughts?
Thanks for stopping by! Be sure to follow me on Facebook and Pinterest so you don’t miss the fun!
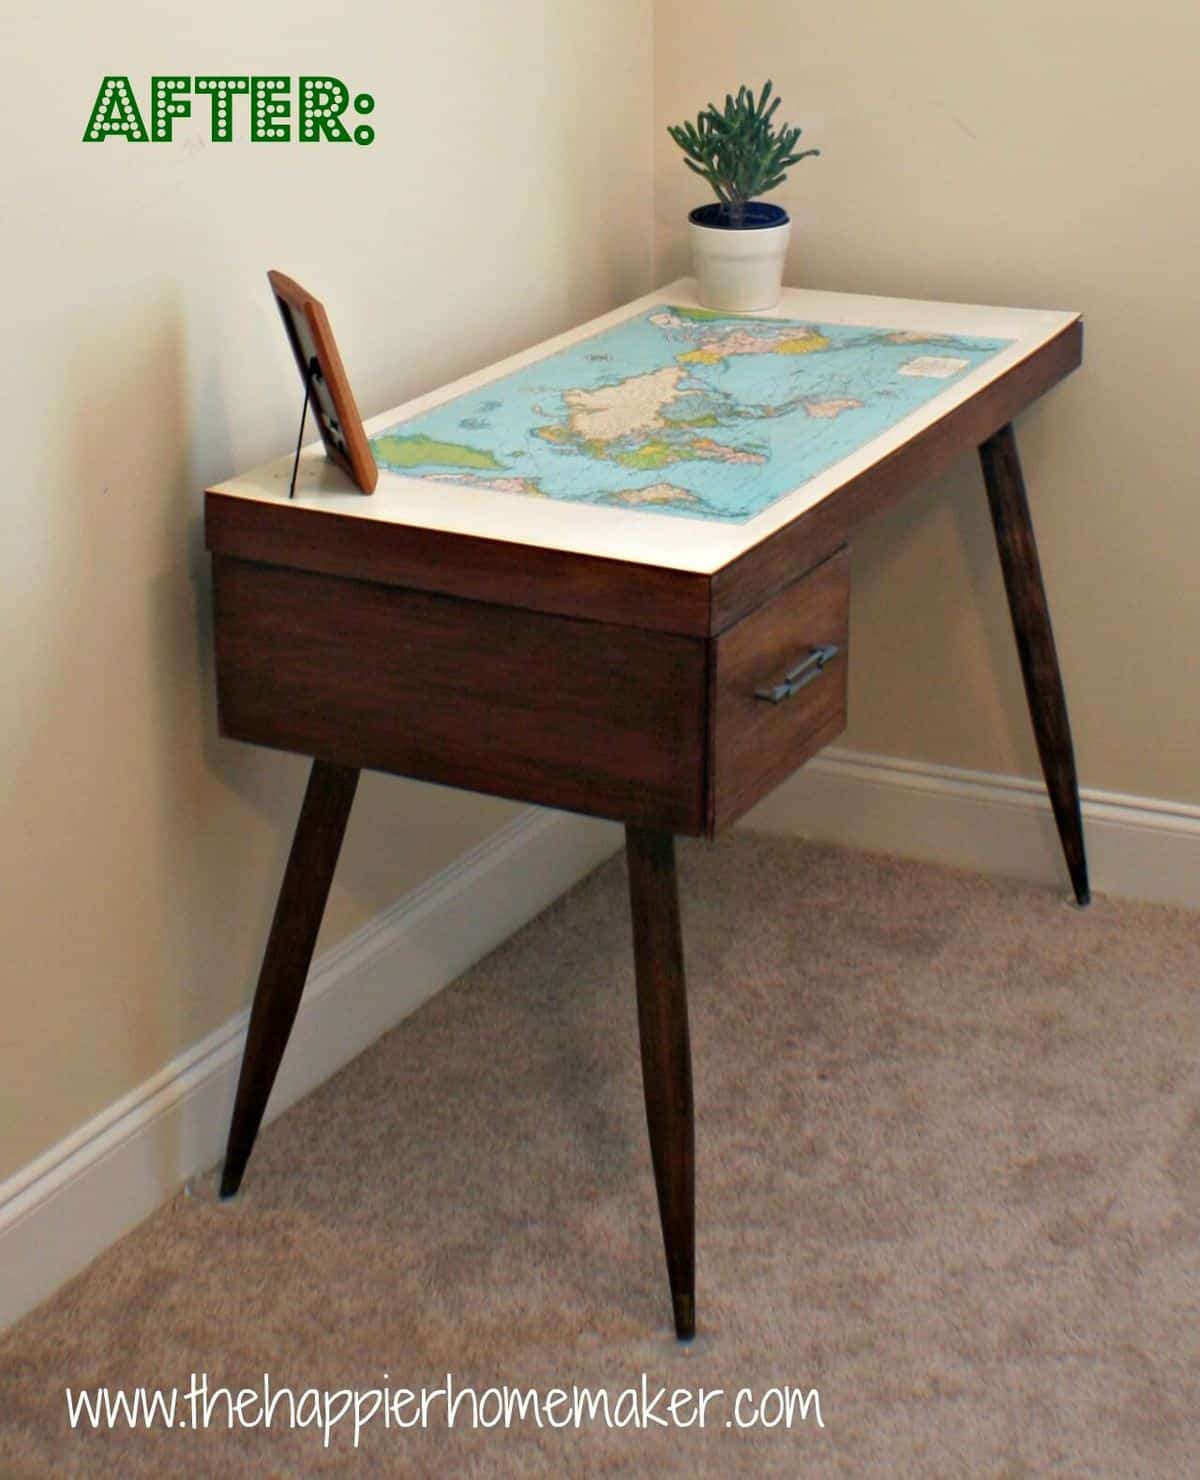
Other map projects:


I knew I could make my own knock-off.
We are making a coffee table, and I wouldn’t love for it to have something extra like this on top. Could you paint the map on and then stain over for a different affect? What paint would you suggest?
Hello! I could haave sworn I’ve visited this web site before but after going through some of the articles I realized it’s new to me.
Regardless, I’m definitely pleased I discovered it aand I’ll be bookmarking it and checking back regularly!
Hi I saw that you mentioned thewood dimensions were 21″x31″. I was wondering what size map did you use?
Thanks
I believe it was the printout that was 4 by 4 pages ~Melissa
I just tried this DIY and used a wood conditioner but my stain still bled. Does the type of wood used make a difference? If so, what type did you use? Thank you!
Oh no Shana!I normally use cheap wood planks from the outdoor lumber section at Lowes-it’s been a really long time since I’ve made one so I don’t remember the exact name they were called but they were less than $3 for a 6 foot length. Can you do a test area with more conditioner? Maybe it’s extra porous and you need to let it soak in more conditioner before it won’t bleed with the stain… Sorry not to be more help, that’s the only thing I can think of to try. ~Melissa
Hi there!
About to give this a try this weekend. Just wondering what you used to remove any excess stain? or did you just ensure you weren’t using too much at once?
I’m either going with the Minwax conditioner & stain or the Varathane stain which doesn’t require conditioning and then following up with polyurethane.
My understanding is you sand (going from maybe 120, 150, to a 180 grit), apply the conditioner, waiting at least 15 mins, then removing any excess at which point you can start staining. I’ve heard you can leave the conditioner on as long as you want but wanted to get a sense of what you did over time?
Any tips would be appreciated, doing this for my gf’s birthday. T
Thanks!
Hi Dan, I used a very fine paintbrush for the stain and did not load much stain at once so did not have to remove excess. I did minimal sanding on my wood, just really to remove any very rough spots or splinters. I don’t have any experience with Varathane but in my experience not conditioning the wood led to bleeding of the stain. I would apply the conditioner and let it soak up in the wood and spread any excess. Once the wood was dry from the conditioner I’d start the staining process. Good luck with the project, let me know if you have any more questions! ~Melissa
Did you trace the map before or after conditioning and sanding? Seems the sanding would erase your tracing.
I traced it after the sanding and conditioning Angie! ~Melissa
This is an old post so I may not get a reply but just thought I’d try…
I’m attempting to make this but I’m having major problems with the stain bleeding and I am using the wood conditioner recommended and following the directions on the can.
I’ve been racking my brain for things I can use as a barrier over the pencil boarders, glue, crayon wax, etc. But nothing is working. Any tips would we greatly appreciated. Yours is so beautiful, thanks for posting your tutorial!
I’m sorry Kira, I’m not sure why you’re getting bleeding if you have conditioned the wood prior…I have never had any issues with it if I did the conditioning step in all the maps I used to make to sell on Etsy. I’m sorry not to be of more help!