NO FUSS, NO FAIL
FAMILY-FRIENDLY RECIPES


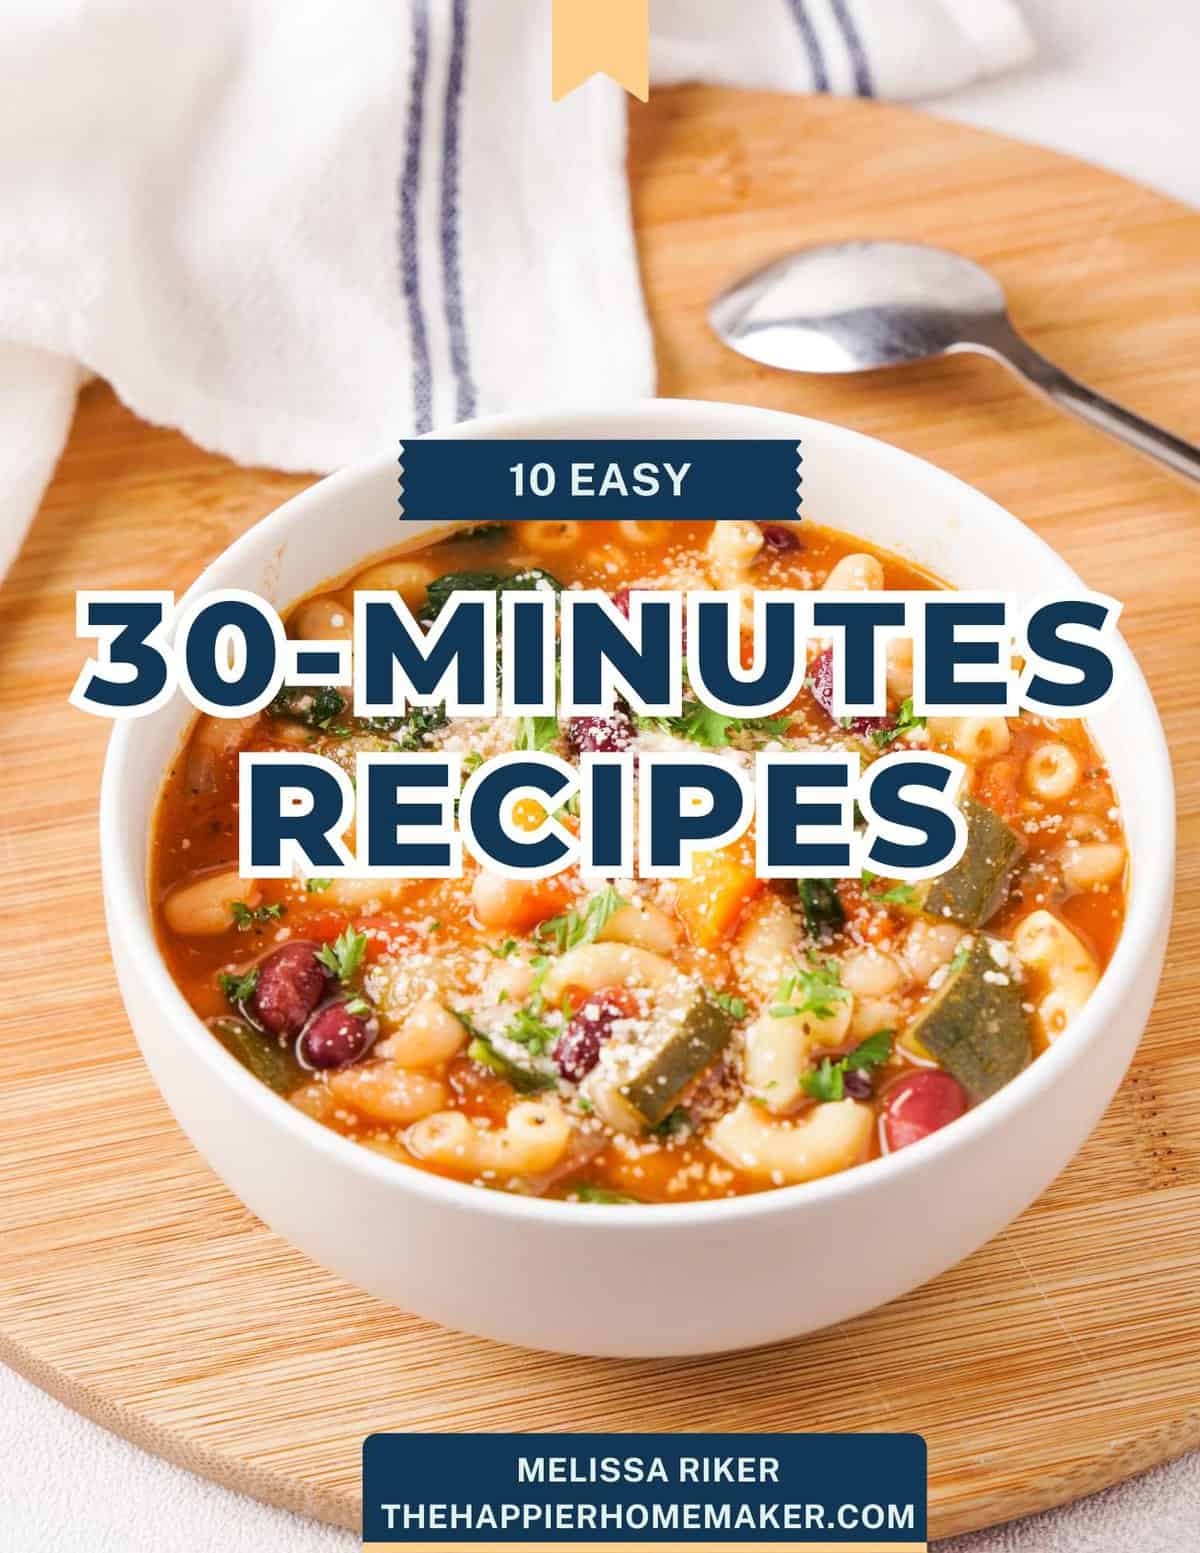
Grab your Free copy
Get easy, 30 minute recipes sent straight to your Inbox
Join our newsletter and receive a tasty package of 10 reader favorite 30-minute recipes, guaranteed to be a hit. Sign up now and get these easy no-fail recipes sent straight to your inbox!


Featured On


Meet Melissa Riker
Hi there, I’m Melissa Riker. I’m a life-hack-finder and expert home cook with 12+ experience sharing kitchen-tested tasty recipes and helpful home tips!
Connect with me
Join me on social media!
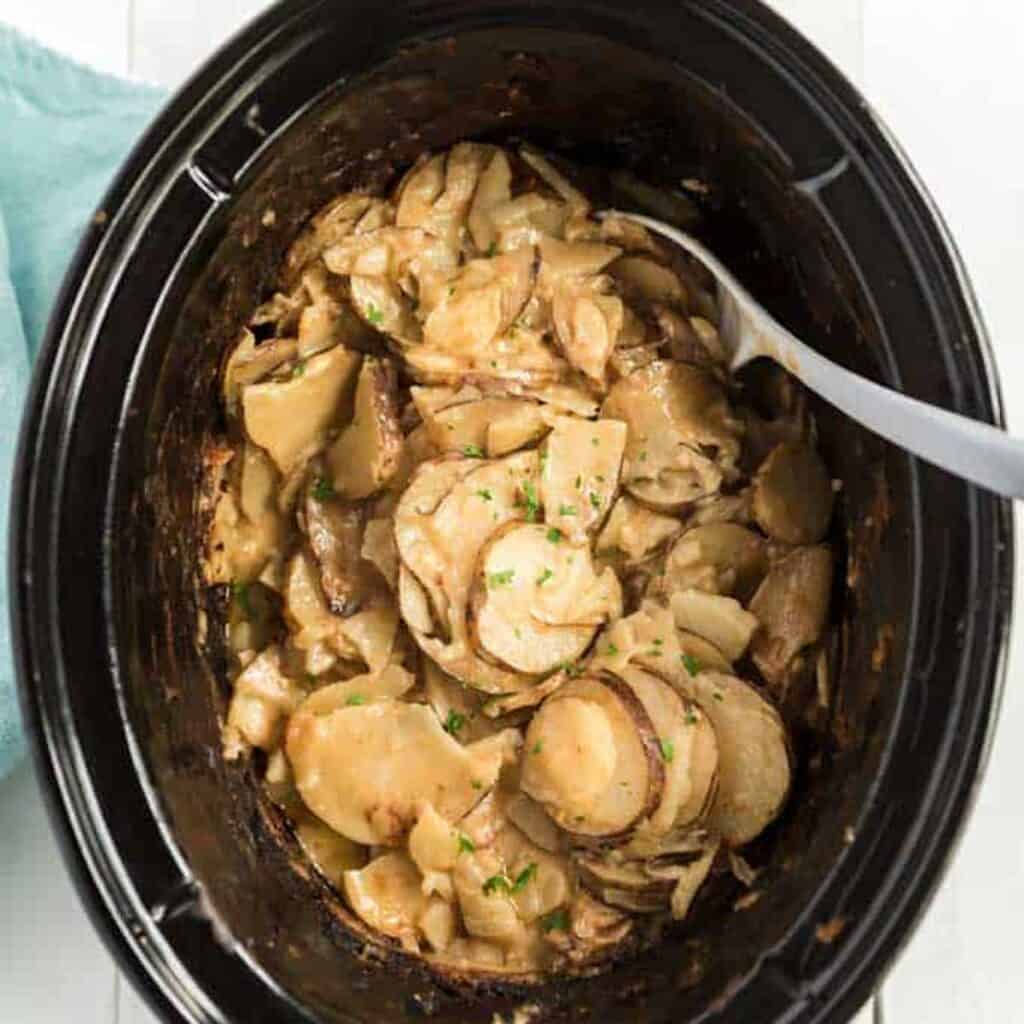
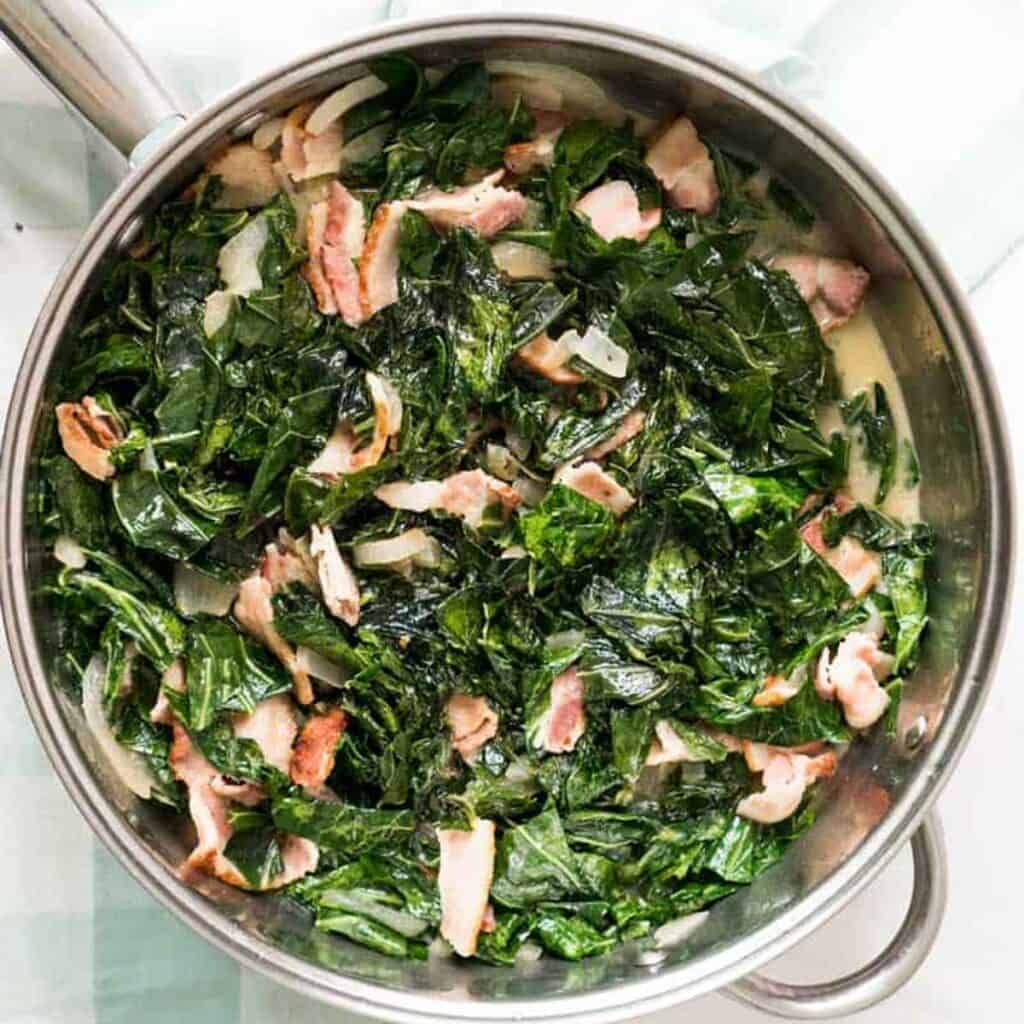
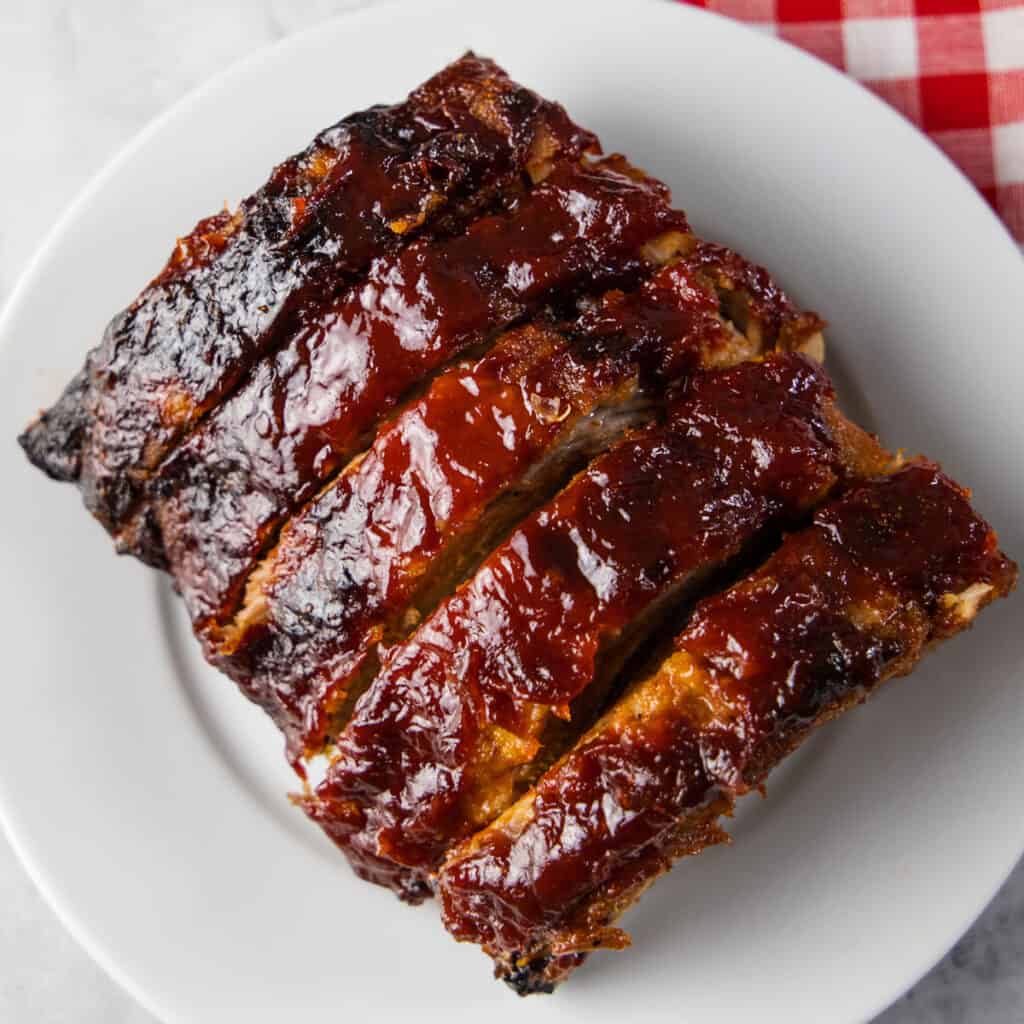
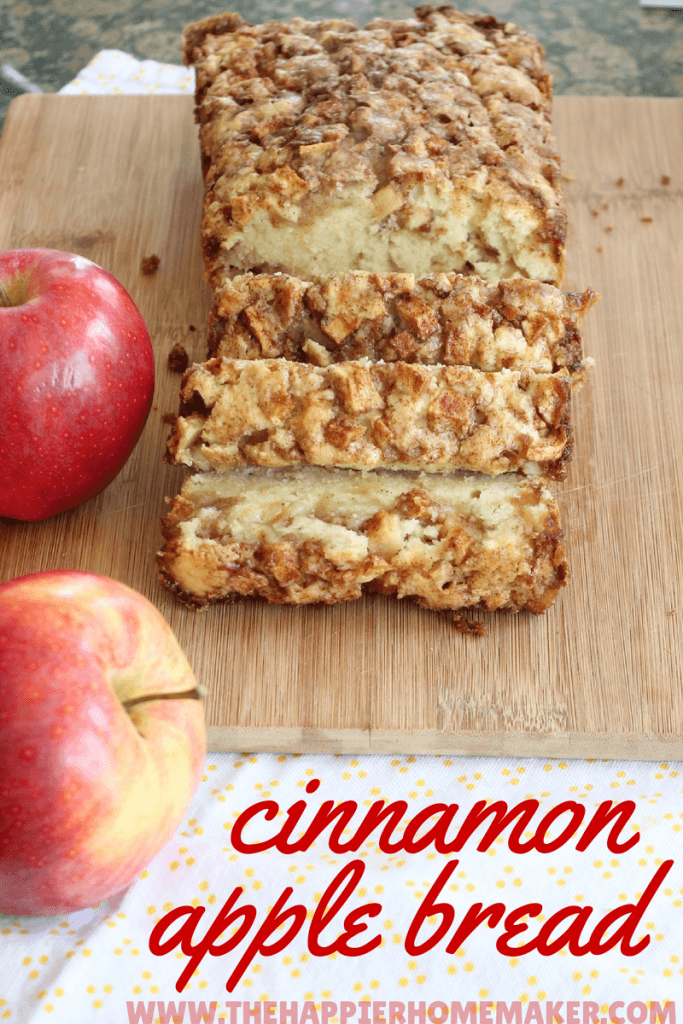
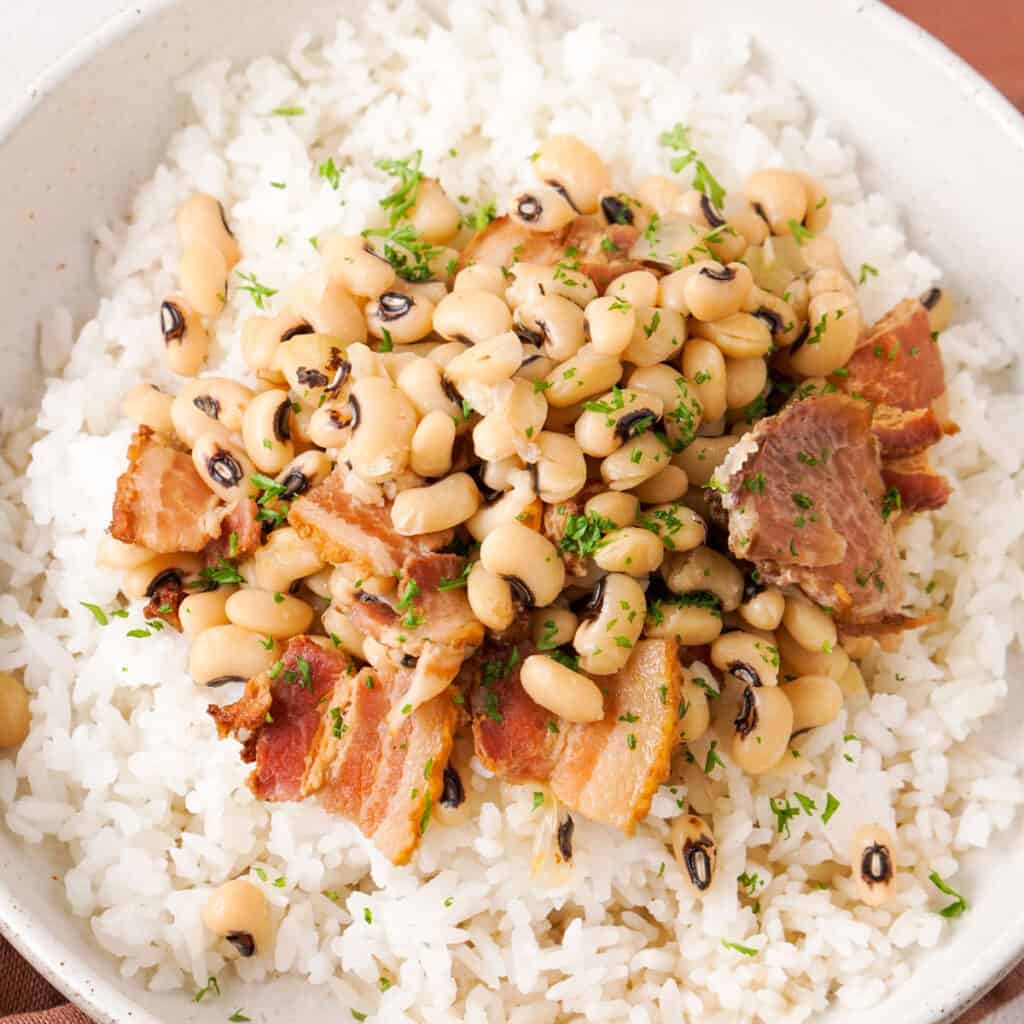
Trending Recipes


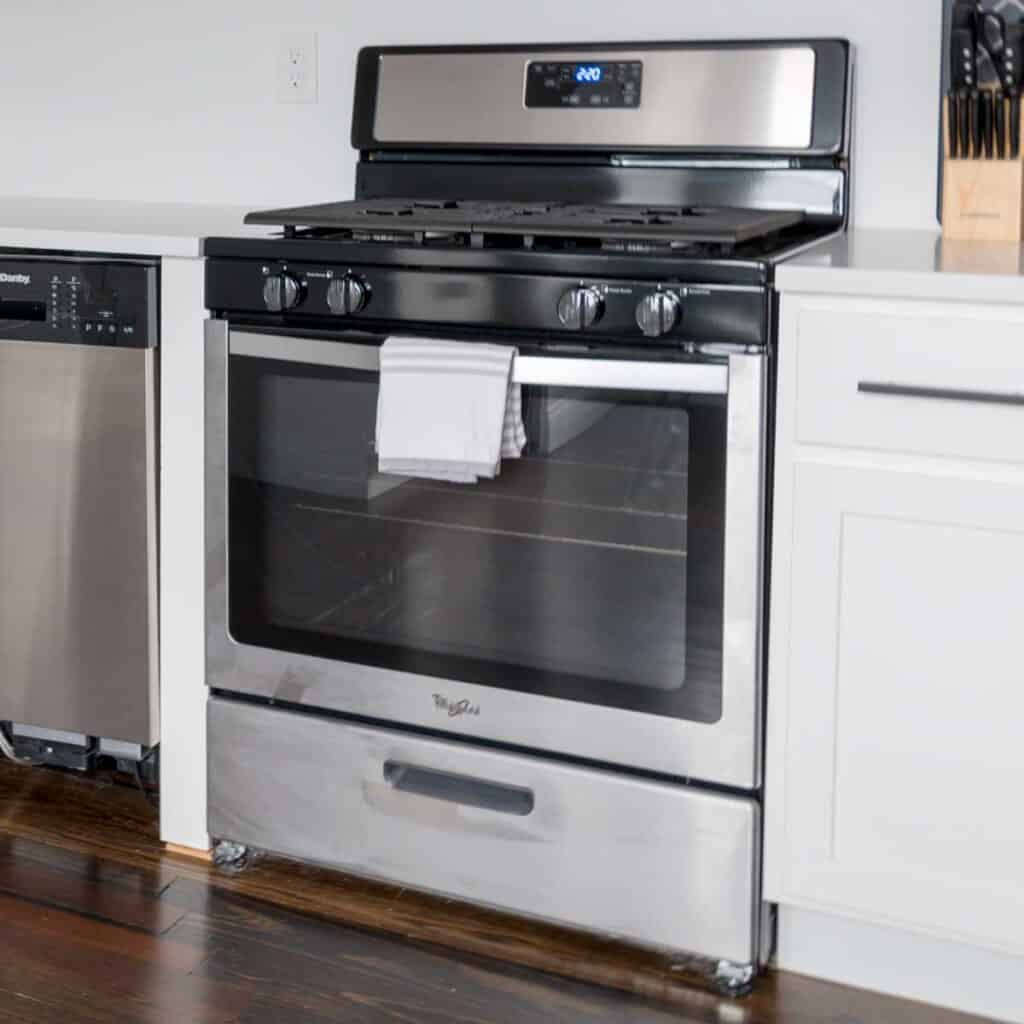

My Favorite Products